You spent $40 on the concealer everyone swore would not crease. By lunch, it is sitting in every fine line under your eyes anyway. The problem is often not the price tag. More often it is how much product ends up in the folds, how slippery your skin prep is, and what you do with powder afterward. Here is how to stop concealer from creasing with the tube you already own.
Quick answer: To prevent concealer from creasing, prep your skin with hydration, apply a thin layer of concealer only where needed, smooth out any lines before setting, and lock it in lightly with powder.
Why Concealer Creases?
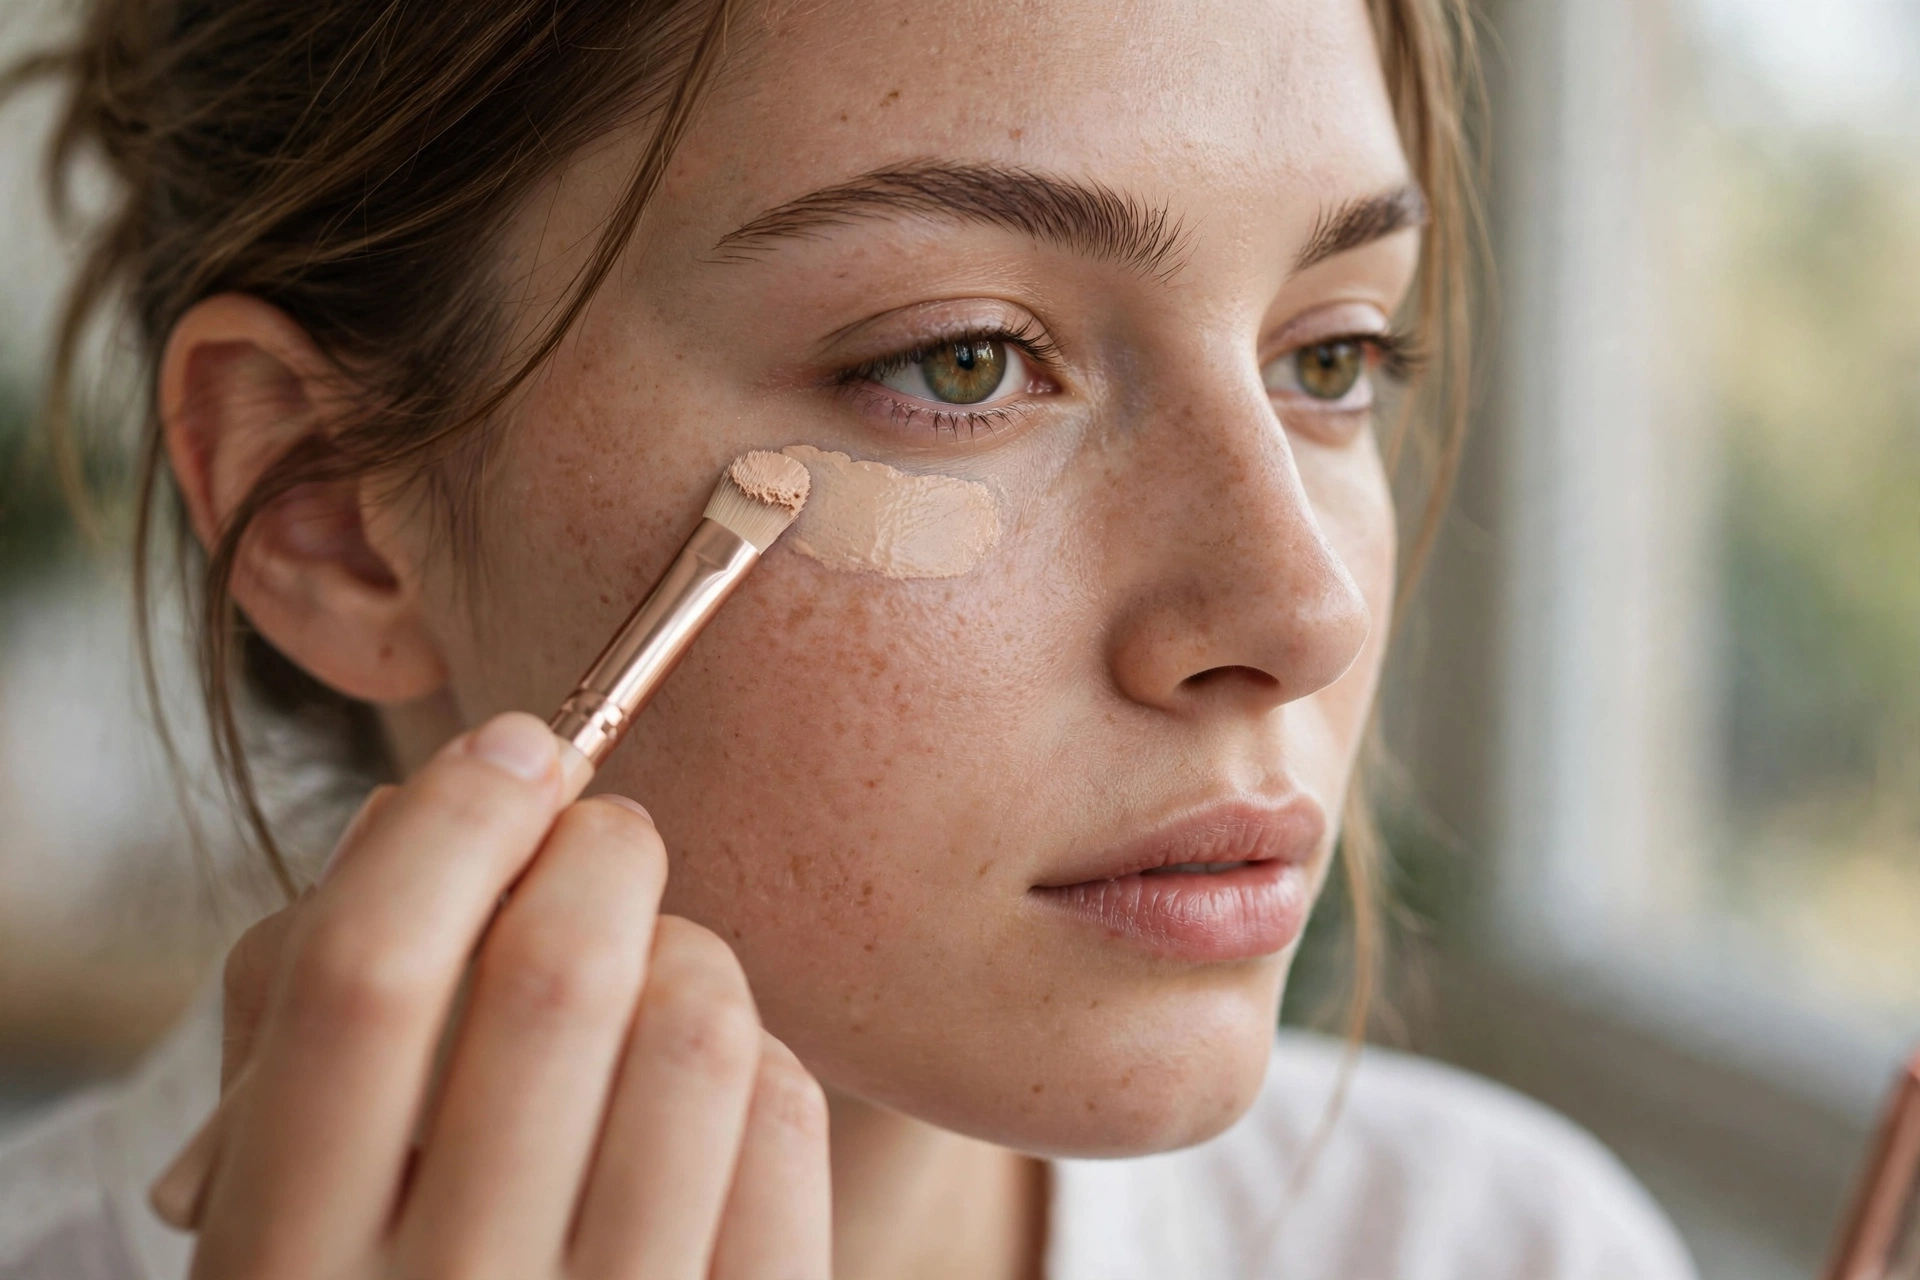
Under eye creasing starts because the skin there moves all day. Every blink, smile, and squint folds it, and any product sitting in those folds gets pushed deeper into them. That is normal skin behaviour, not a sign your face is broken. Creasing turns obvious when there is too much product for those folds to hold.
Concealer creasing usually comes from three things combined. First, excess product: a thick layer has nowhere to go but into lines. Second, a slippery base: eye cream or skincare that has not absorbed lets concealer slide instead of gripping. Third, powder set over a crease: once powder locks a line in place, no blending later will smooth it out.
Formula matters too. Very creamy concealers move more; very matte ones grip but can look dry. The easiest formula to work with is thin and flexible, with enough pigment that you only need a little. If yours is slightly too rich, changing how you apply it is often enough, with no replacement needed.
Some movement is normal. The goal is not zero creasing, it is giving the product less to settle into. Makeup artists say the same thing: Clarins training manager Charlotte McHale points to using too much product as the usual reason concealer creases.
When concealer creases quickly, I first check how much product is sitting directly in the fold and whether the under-eye prep still feels slick. I compare the same concealer applied more sparingly with the previous amount before changing several products at once. I look for the time and exact crease location where the makeup settles.
How to Stop Concealer From Creasing: The Step-by-Step Routine
These steps work best in order: use less product, prep well, place it carefully, blend in thin layers, then set lightly.
Use Less Concealer
This is the single biggest fix, and the hardest to believe. Too much concealer is the biggest cause of creasing. Start with a small amount and add more only where darkness still shows. If you change only one thing in how to stop concealer creasing, change the amount.
The inverted triangle is a popular placement, and it can work, but only as a thin, well-blended layer. It goes wrong when the whole triangle is filled in with product. On skin that creases, start with one dot and add more only where you still see darkness.
The dot test: look in the mirror and find where the darkness actually sits. For most people it is the inner corner and the hollow just below it, not the entire under-eye. Place one small dot there, blend it out, then look at your whole face from a normal distance. You will usually find you need far less than you expected.
Still need more? Add a second thin layer only where darkness shows through. Two thin layers usually look more natural than one thick one. A colour corrector on real darkness cuts the concealer needed even further, since it has already done the cancelling.
| Area | How much to start with | Why |
|---|---|---|
| Inner corner + hollow | One small dot per eye | Where darkness is deepest |
| Outer half of the under-eye | Blend-out residue only | Needs brightening, not coverage; extra product here creases first |
| Directly under the lashes | None, or blended up toward them | Thin, mobile skin that cannot hold product |
| Fine lines themselves | Residue only, never a fresh dot | Fresh product packed into a line shows up as a crease |
Prep Without Making Under-Eyes Slippery
How to avoid under eye creasing starts before you touch the concealer. Hydrated under-eyes take concealer better than dry ones. Dry skin grips product unevenly and makes texture stand out. But there is a line between hydrated and slippery, and crossing it is one of the most common causes of creasing.
The timing rule: use a rice-grain amount of light eye cream for both eyes, then do something else for a few minutes. Brows, hair, getting dressed. Come back only when the area feels like skin again, not tacky or wet. If it still feels slick, wait another minute or two. A light dab with a clean fingertip is enough; avoid rubbing the delicate skin.
Save richer eye cream for night, and use a lighter gel-cream texture in the morning. Rich formulas leave a film under makeup. Keep it to one eye product, fully absorbed. One absorbed layer beats three stacked products that never sink in.
Do You Need an Under-Eye Primer?
It is optional, but worth trying if eye cream alone still leaves you slippery. A thin layer of a smoothing or hydrating under-eye primer gives concealer something to grip, and unlike a heavy cream it is less likely to move when you blink. Use a rice-grain amount for both eyes, tap it in, and let it settle before concealer.
Placement: Keep Product Out of Deep Folds
Where you put concealer matters as much as how much you use. The instinct is to put the most product exactly where you see the most texture. That backfires: packing product into a fold is what makes the fold visible.
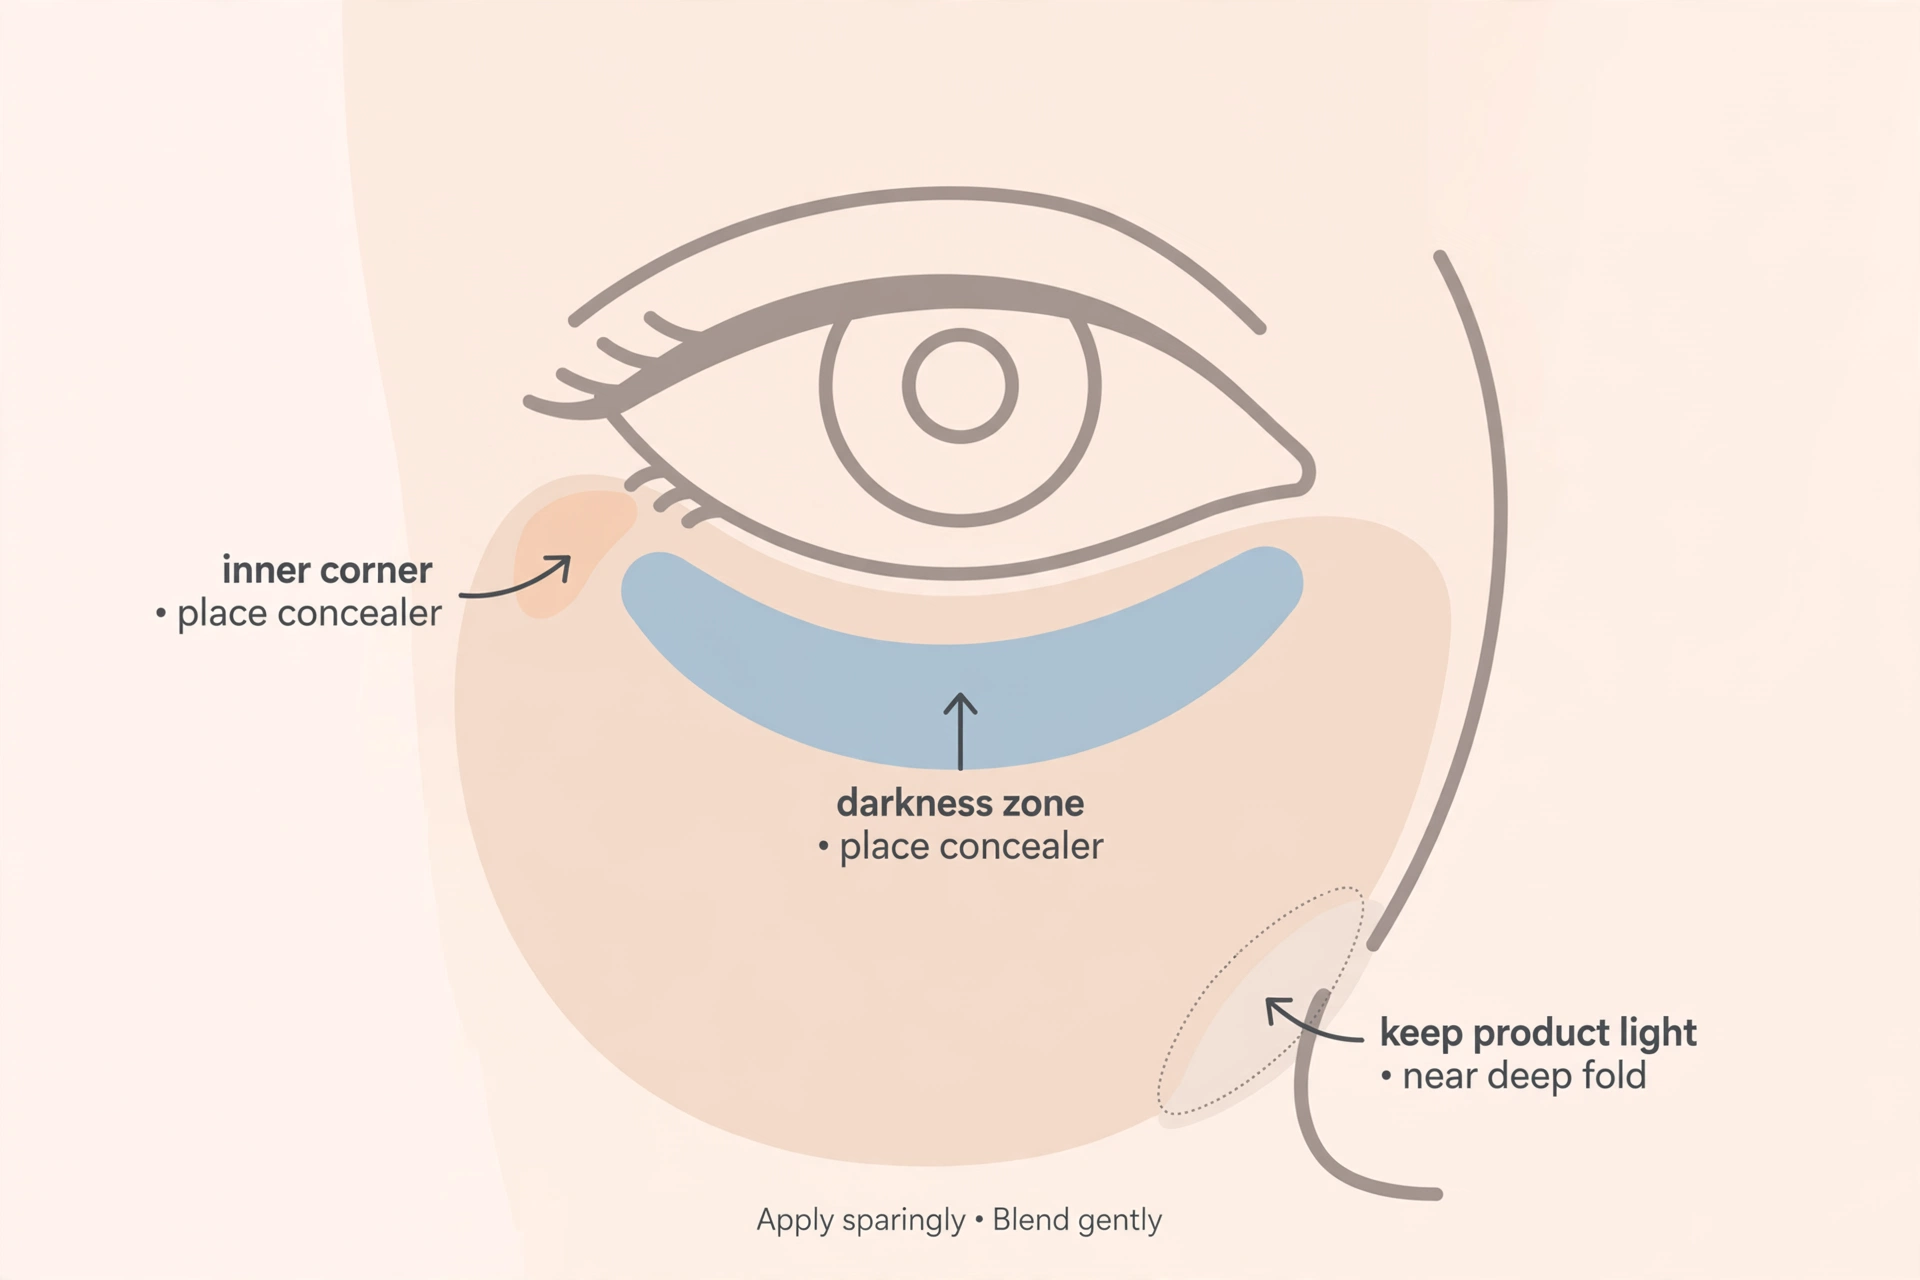
Place it where the darkness is, then blend toward the lines. Put your dots on the discoloration, then blend outward with what is left on your sponge or brush. The fine lines get a sheer veil, not a fresh deposit. You still get an even finish, just without a thick layer sitting in every crease.
A small, tapered brush places product exactly where you want it and nowhere else. Then soften the edges with a fingertip or damp sponge, which also picks up excess. Keep product away from the lower lash line: blend up toward the lashes instead of applying along them, where product pools fastest.
Blend in Thin Layers
Blending is where a good amount of concealer becomes a crease-free finish or a mess. The rule is simple: press and tap, never drag. Dragging moves product around, pushes it into lines, and pulls at thin under-eye skin.
Work in this order: dot where darkness sits, then tap in with a damp sponge, ring finger, or small brush. Finger warmth sheers product out; a damp sponge presses it in without adding more. Check from a normal mirror distance after each layer, because nobody else sees your face from two inches away.
Then comes the step most people skip. Wait a minute and let your face move. Blink, smile, look up. Concealer will settle slightly on its own, and that is useful: you can see where it wants to collect, tap those lines back out with a clean fingertip or sponge, and only then decide whether you need powder.
Learning how to stop concealer from creasing starts with this pause, because setting a smooth surface beats setting a creased one every time. It is also the fastest way to learn how to stop under-eye creasing on your own face: watch where the product collects.
How Much Powder to Use
Powder is where the “more is better” instinct does the most damage. It helps hold concealer in place, but more does not mean more staying power. A thick layer absorbs moisture, dries the area, and emphasises the texture you were hiding. Heavy baking can emphasise texture, especially on dry or mature under-eyes. A light set is the safer choice.
The press-and-dust rule: pick up a small amount of finely milled translucent powder, tap off the excess, and press it only where your concealer actually moves. For most people that is the inner corner and the crease-prone hollow, not the whole under-eye and not the outer half at all. A small fluffy brush keeps it light; a puff presses it in more firmly if your skin runs oily.
| Your under-eyes | Powder approach | What to skip |
|---|---|---|
| Oily or humid days | Light puff press, dust off after a minute | Multiple heavy layers; powdering the whole cheek |
| Normal | Small brush, one light press where it moves | Baking for several minutes |
| Dry or mature | Smallest amount, brush only, or skip powder and see | Baking; thick pressed powder; powdering the outer half |
If your concealer barely creases without powder, you do not have to set it. Try a day without and judge honestly. If you do set, a light mist of setting spray afterwards softens any powdery look, but spray alone usually is not enough to stop creasing. Use powder first, lightly, then a fine mist from arm’s length.
How to Stop Under-Eye Creasing on Dry or Mature Skin
Under eye creasing looks stronger on dry or mature skin because there is more texture for product to settle into. Dry skin and fine lines give concealer more to cling to and settle into. The fix is not heavier coverage. It is a lighter, more flexible routine.
Choose a hydrating, thin formula over full-coverage matte, and treat the under-eye differently from the rest of your face. A matte concealer that works on a blemish can look stiff and lined here. Keep to one thin pass where possible, warmed and sheered with your ring finger rather than a brush.
On lined skin, some makeup artists skip concealer under the eyes and use a hydrating foundation in your shade where coverage is needed, since foundation tends to be more moisturising.
Powder is optional here, not mandatory. If you set at all, use the smallest amount of a finely milled powder with a small brush, pressed only into the spots that move. And keep expectations realistic: some settling by the end of the day is normal on mature skin. The goal is a soft, even finish, not a frozen one.
How to Fix Creasing Midday
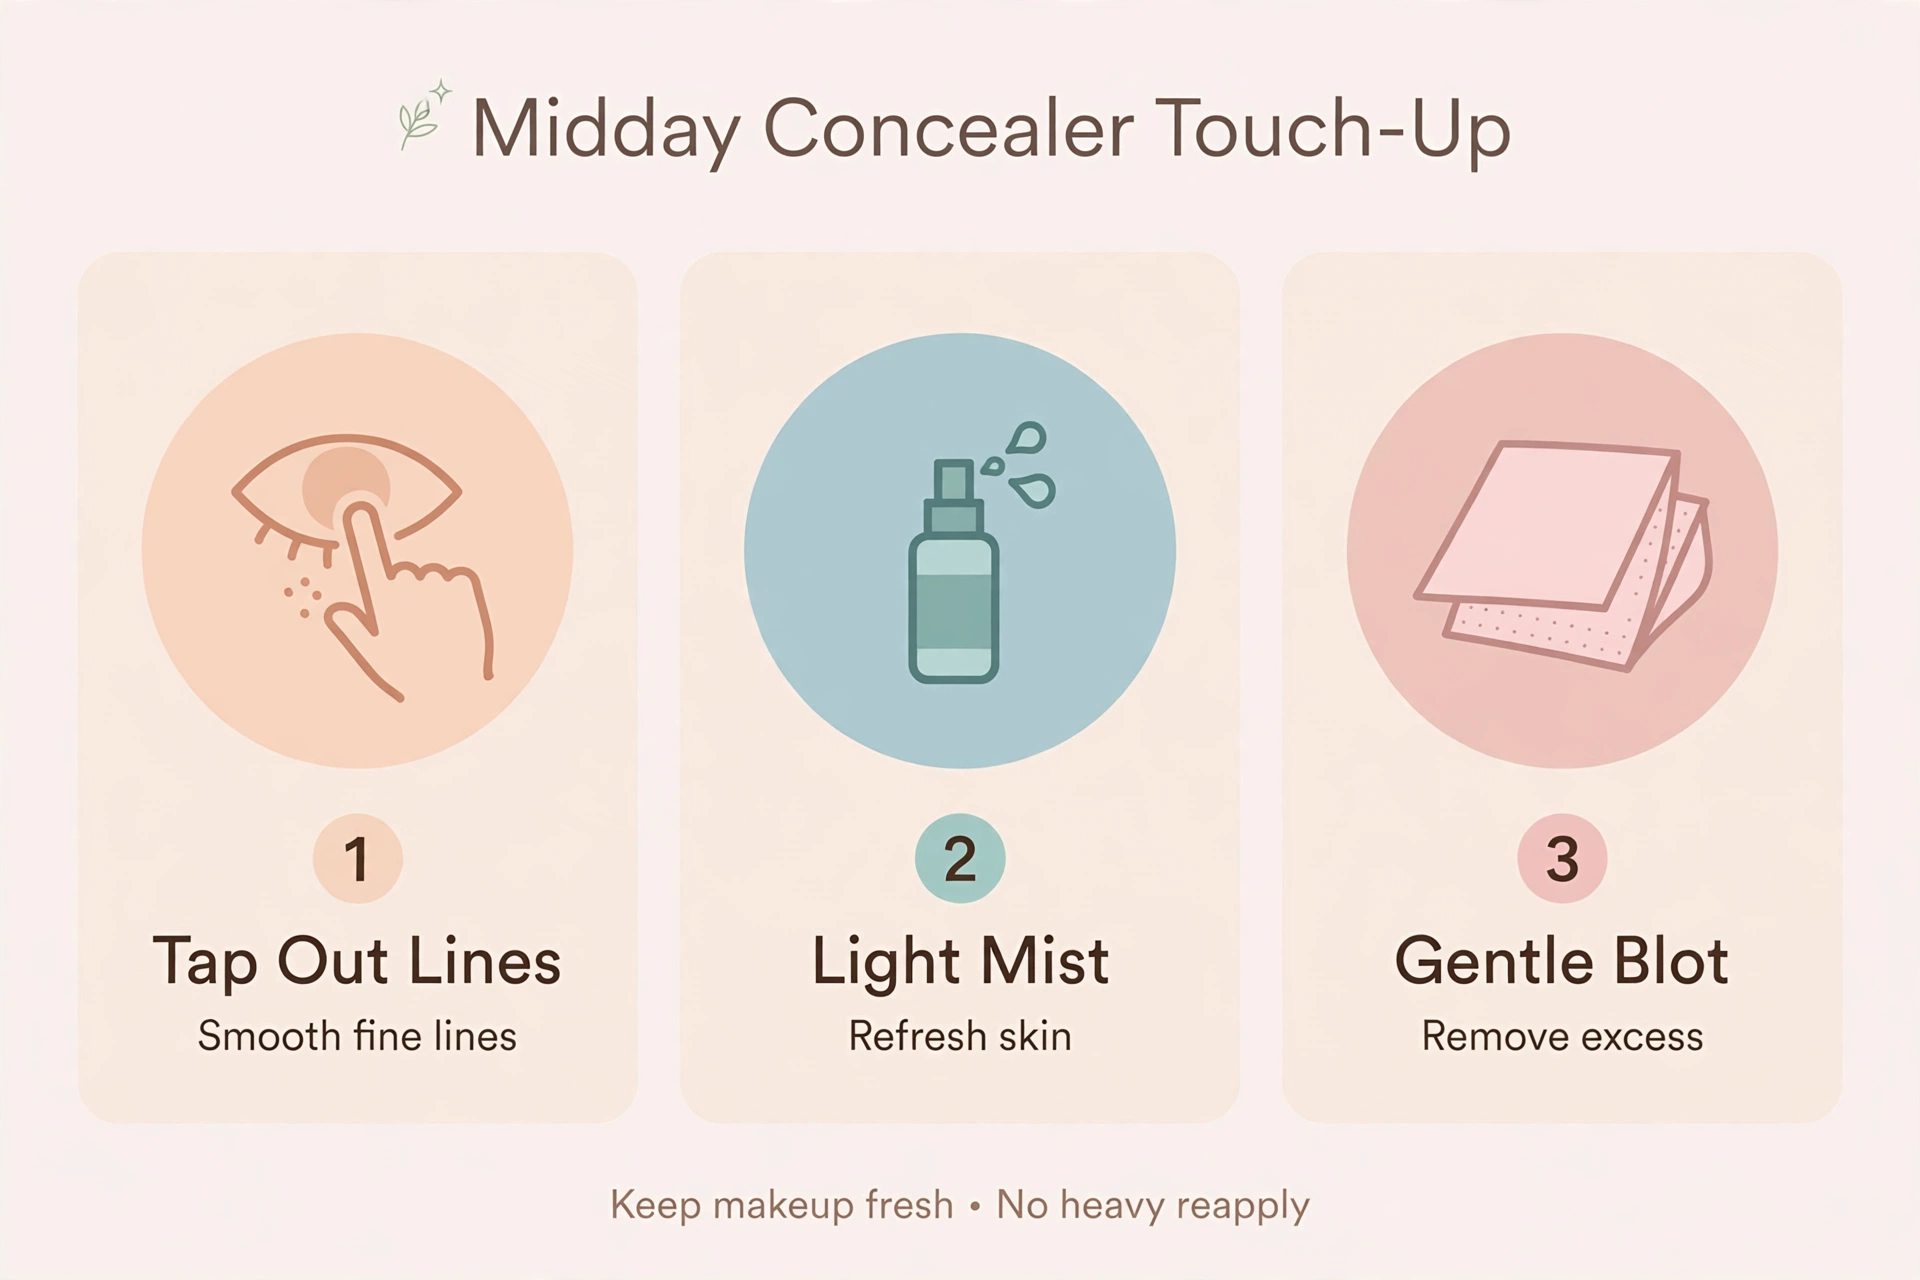
Concealer creasing at midday does not mean your routine failed. How to stop under eye makeup creasing at lunchtime is mostly about doing less, not adding more. Do not pile on more concealer. That is how a small crease becomes a thick, cakey line.
Tap it back out. Take a clean fingertip or a dry sponge with no product on it and gently press over the creased area. The warmth of your skin softens the product and lets it settle back into place. Gentle tapping often softens a crease. If the concealer has separated, or your skin feels irritated, remove it and reapply a thin layer.
If tapping does not smooth it, dampen a clean sponge with a tiny spritz of facial mist, squeeze out the excess, and press over the crease. Keep liquids away from your eyes and waterline, and close your eyes if you use a spray. Only if coverage has genuinely worn away, add a pinhead-sized dot of concealer, tapped in and barely set.
Blot before you touch up. If oil has broken the concealer down, press blotting paper over the area first. Adding product on top of oil just makes paste. Carry a small sponge and blotting papers, not a full powder compact, and your touch-ups stay thin.
Some under-eyes wear better with a light targeted set; dry or mature skin may prefer little or no powder. Midday creases can be gently smoothed or selectively removed rather than layered over.
Mistakes That Make Creasing Worse
Knowing how to avoid under eye creasing also means knowing what to stop doing:
- Setting a crease in place. Powdering right after blending locks in lines you have not checked for. Wait a minute, tap lines out, then set.
- Applying concealer before foundation. You cannot tell how much coverage you still need until the rest of your base is on, so you tend to use more. Put foundation on first, then add concealer only where darkness still shows. If you use a colour corrector, keep it very thin and only on the darkest spot. (For the full order, see makeup order: what goes first.)
- Filling in a thick triangle. On crease-prone eyes, a thick triangle loads product onto the outer half and the folds, where it creases first. Spot-place instead.
- Layering concealer over wet skincare. Eye cream that has not absorbed turns the base slippery and the concealer slides into lines within the hour. Wait, then dab away any excess.
- Adding powder over a midday crease. Powder on top of settled product adds thickness and texture. Tap the crease out first, then decide if any powder is needed at all.
- Chasing a completely crease-free finish. Skin moves, so some late-day settling is normal. Chasing zero movement means more product, which creases more. Aim for soft and even, not frozen.
If your whole base tends to cake as well as crease, the two problems usually share a cause: too much product, layered too fast. The fixes in why your foundation looks cakey pair naturally with this routine.
Frequently Asked Questions
Conclusion
Creasing is rarely about finding a miracle product. It is about giving your under-eyes less to hold: a dot of concealer where darkness actually sits, eye cream that has had time to absorb, thin tapped layers, and powder pressed only where the product moves. Try the routine with the concealer you already own before buying another one, and judge it at the end of a normal day, not in the bathroom mirror. That is how to stop concealer from creasing for good: not perfectly, but noticeably.
If a product stings or irritates your eyes or skin, stop using it. Keep concealer and powder out of the waterline, and wash sponges and brushes regularly. And if your base cakes as well as creases, read why your foundation looks cakey next, since the two problems usually share the same fix.