Search for a homemade ear cleaning solution for dogs and you’ll find confident recipes that contradict each other: one adds rubbing alcohol, one adds tea tree oil, one swears by vinegar alone. The trouble is that ear ingredients are hard to measure and keep sterile at home, and some of them irritate or poison.
This guide covers what veterinary sources actually say, what never to put in a dog’s ears, a safe step-by-step method, and when to stop and call your vet.
Quick Answer
Not reliably. A kitchen mix can’t be checked for strength, acidity or cleanliness, and the usual ingredients (alcohol, hydrogen peroxide, essential oils) are specifically warned against by VCA Animal Hospitals and PetMD. The safer default is a vet-approved ear cleaner, used only on a healthy ear, with cotton balls or gauze and never a cotton swab inside the canal.
Do not clean an ear that is painful, red, inflamed, swollen or discharging, or one with a suspected damaged eardrum. VCA warns the dog may have an infection or a ruptured eardrum. Head tilt, loss of balance or sudden hearing changes need urgent veterinary care, not a home clean.
Why a Dog’s Ears Are Easy to Get Wrong
A dog’s ear canal is not a short, straight tube like ours. It runs down, then turns sharply sideways toward the eardrum. VCA explains that this shape makes it difficult for material trapped deep in the horizontal canal to work its way out without help, and that trapped material can lead to itchiness and infection.
But VCA also says not every dog needs its ears cleaned, and that over-cleaning can irritate the canal and lead to infection. That is why the first skill in ear care is not technique. It is telling two situations apart:
- A healthy ear with a little wax: maintenance at most, and sometimes nothing at all.
- A red, smelly or painful ear: a medical problem. No cleaner, homemade or shop-bought, treats it, and cleaning it at home can make it worse. PetMD’s advice is blunt: if you see redness, pain or a foul odor, do not clean the ears.
This guide is part of our complete guide to grooming your dog at home. It covers ear cleaning as maintenance for healthy ears, not treatment for a sick one.
Homemade Ear Cleaner for Dogs: What the Common Recipes Contain
Every homemade ear cleaner for dogs is built from a handful of kitchen ingredients. Here is how each one compares with veterinary guidance.
- Vet-approved ear cleaners. These are made and labelled for dogs. VCA notes that some contain antibacterial or antifungal ingredients and some are better at removing wax, and that your vet can help you choose. PetMD names Virbac Epi-Otic Advanced and Vetoquinol cleaners as examples (examples, not endorsements). If your dog is on ear medication, ask your vet whether to wait between cleaning and applying it, because VCA notes some cleansers can weaken medication.
- Vinegar and water. This is the most published DIY recipe. It is not a veterinary product, and neither VCA nor PetMD recommends it. Acidity varies with the vinegar and how you measure, the mix isn’t sterile, and acid is likely to sting skin that is already red or raw. Vets who accept it at all limit it to the outer ear (more below).
- Rubbing alcohol and hydrogen peroxide. VCA warns that cleaners containing either can irritate the ear canal, especially if it is inflamed or ulcerated. PetMD lists both, plus essential oils, as things not to use.
- Oils and essential oils. PetMD says not to use essential oils because they can irritate the canal and raise the risk of infection or injury. Tea tree oil is a particular hazard: Pet Poison Helpline data and PetMD describe poisoning in dogs from pure tea tree oil, with as little as about seven drops of 100% oil causing signs. Plain oils such as olive or coconut oil aren’t recommended for the canal by VCA or PetMD. AKC mentions only a cotton ball lightly moistened with mineral oil, and only for the visible outer ear.
- Plain water. A damp cloth suits the visible outer ear. Water poured into the canal doesn’t clean it, and AKC notes that moisture trapped in the ears after swimming or bathing can contribute to ear problems.
Ear Wash for Dogs Homemade: The Only Version Some Vets Accept
Most readers searching for an ear wash for dogs homemade want a recipe, so here is the honest picture. Some veterinarians quoted in pet-care articles do accept a very dilute vinegar wash, but only in narrow conditions, and they don’t agree on the strength:
- A vet quoted by Rover says a 50/50 mix of distilled water and white vinegar is a good option when the dog has no ear infection and only the ear flap needs cleaning.
- A veterinary consultant quoted by Yahoo News suggests keeping vinegar under 25 percent, which works out to 1 part vinegar to 3 parts water.
- A vet quoted by Kinship says homemade solutions should be approved by a veterinarian first and used only when the dog has no ear infection or pain.
The fact that three vets give three answers is the point: there is no standard recipe. If you still want to try one, these are the limits that every source shares:
- Ask your vet first, and use their ratio if they give one.
- Healthy, painless ears only. Skip it if there is any redness, smell, discharge or flinching.
- Outer ear only. Wipe the visible flap with a damp cotton ball. Do not pour or squirt it into the canal.
- Vinegar and distilled water only. No alcohol, peroxide, tea tree or other essential oils, and no oils.
- Mix a small fresh batch instead of storing it, since a homemade mix has no preservative or sterility guarantee.
- Stop at once if your dog pulls away, cries or the skin looks redder afterwards.
This is a narrow exception, not a replacement for a vet-approved cleaner when the canal itself needs cleaning.
Why “Homemade” Is Not the Same as “Gentle”
“Homemade” describes where a mixture was made, not what it does inside a dog. A kitchen can’t measure what matters in an ear product: exact acidity, concentration, whether the water and container are clean, and whether the mix stays stable. Two people following the same “equal parts” recipe can end up with different liquids. A vet-approved cleaner arrives the same every time, with a label your vet can read and judge.
Many people searching for the best dog ear cleaning solution homemade recipes can offer are really asking how to save a trip to the vet. The honest answer is that any homemade ear cleaning solution for dogs trades a small saving for uncertainty, and the saving disappears if it irritates the ear or hides an infection.
There is a quieter risk too. A homemade mix that seems to work on a healthy ear builds false confidence. When the ear later turns red or smelly, the owner who already “cleans at home” is more likely to clean harder or more often instead of booking the vet visit the smell was asking for. And over-cleaning is itself a cause of irritation and infection, according to VCA.
None of this means never touching your dog’s ears. It means choosing the right bottle once, asking your vet which one suits your dog, and keeping experiments out of the canal.
What Never to Put in a Dog’s Ears
| Never use | Why |
|---|---|
| Rubbing alcohol | Can irritate the ear canal, especially when inflamed or ulcerated (VCA, PetMD). |
| Hydrogen peroxide | Can irritate the ear canal, especially when inflamed or ulcerated (VCA, PetMD). |
| Essential oils, including tea tree | Can irritate the canal and raise the risk of infection or injury (PetMD). Tea tree is also toxic to dogs. |
| Cotton swabs (Q-tips) | Push debris deeper and risk puncturing the eardrum or injuring the canal (VCA, PetMD). |
| Human ear drops or cleaners | Not formulated for dogs; PetMD says to use a cleaner made for dogs. |
| Leftover ear medication | Prescribed for a different dog or infection, not this ear. Ask your vet. |
| Water poured into the canal | Cleans nothing, and leftover moisture can contribute to ear problems (AKC). |
| Vinegar mixes as a canal flush | Unmeasured acidity, and no major vet source recommends it for the canal. |
If a recipe, video or post recommends anything in this table, close the tab. “People have used it for years” is not evidence that it did no harm.
Step-by-Step Ear Cleaning With a Vet-Approved Cleaner
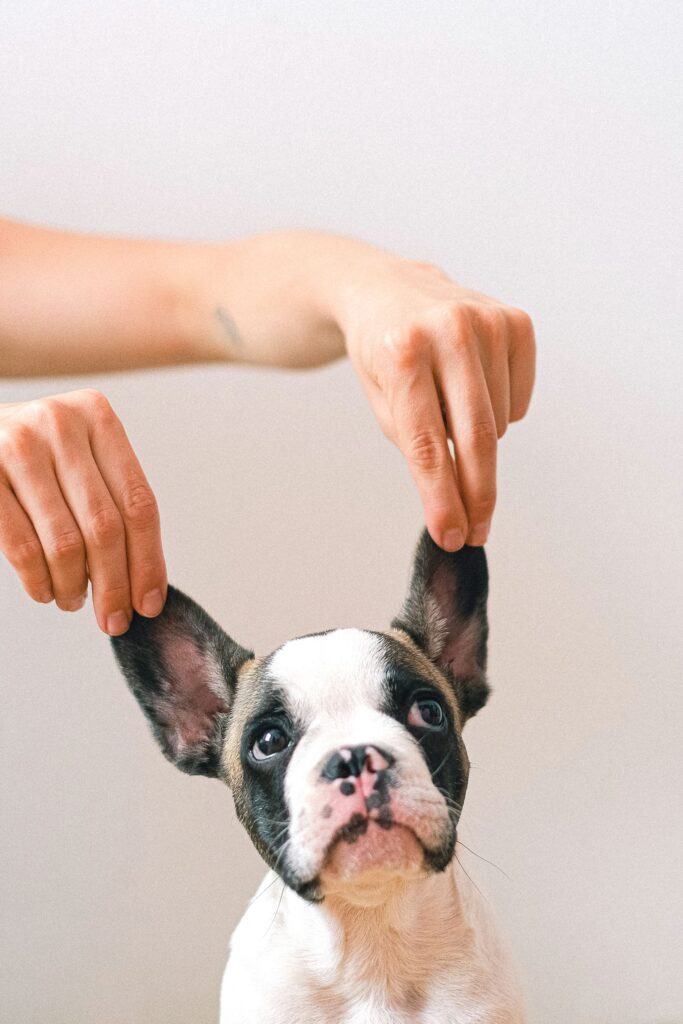
Use this only on a healthy ear. If you’ve never done it, ask your vet or a vet technician to demonstrate once in person. PetMD adds that a vet can also do the cleaning if you aren’t comfortable, which is a perfectly good option.
- Get ready. You need a vet-approved ear cleaner, cotton balls or gauze, a towel and treats, all within reach. PetMD suggests cleaning outdoors or somewhere easy to wipe until you know how much your dog will wriggle.
- Check the ear first. Lift the flap and look. Healthy means light wax, no strong smell, normal skin colour and a dog who doesn’t mind being touched there. Stop and call the vet if you see redness, swelling, discharge or blood, smell a strong or yeasty odor, or the dog flinches or cries.
- Settle the dog.
- Small dog: sit them on your lap.
- Medium dog: sit on the floor with the dog in front of you.
- Large dog: sit them with their rear in a corner, one side against the wall.
- A nervous dog: ask a helper to hold them, with an arm gently around the neck (PetMD). If they’re stressed, postpone.
- Lift the flap straight up. This straightens the canal so the cleaner reaches the bend.
- Fill the canal. Squeeze in enough cleaner to fill the canal. Some overflow is normal. Hold the bottle just above the opening, never inside it. If the tip touches the ear, wipe it before doing the other ear so you don’t carry bacteria or yeast across.
- Massage the base of the ear below the opening for about 30 seconds, still holding the flap up. You should hear a soft squishing sound. This is the step that loosens the debris.
- Let the dog shake. Shaking moves loosened wax and leftover cleaner out to the opening. Expect mess.
- Wipe only what you can reach. Use a cotton ball or gauze on the inner flap, upper canal and outer opening, going only as far as your finger reaches. Never a cotton swab.
- Repeat only if needed. If the cotton still comes away dirty, repeat the fill, massage, shake and wipe. PetMD says heavy build-up may take three or four rounds. If it never comes clean, or the debris is bloody or smells strongly, stop. That ear needs examining, not more cleaning.
- Reward, then do the other ear with fresh cotton. If your dog shows pain at any point, stop and call your vet.
“Before I attempt ear cleaning, I check whether the dog is comfortable with a gentle ear-flap touch. If a veterinarian has recommended cleaning, I prepare the approved solution and a soft cotton pad, keep handling calm, and wipe only the accessible areas according to the veterinary demonstration. I stop if the dog appears painful or unusually distressed rather than forcing the procedure.”
A Practical Tip by Groomer
If Something Goes Wrong
| Problem | What to do |
|---|---|
| Your dog won’t stay still | Get a helper, keep sessions short, use treats, or postpone. A wrestling match makes the next clean harder. |
| Cleaner is going everywhere | Work outdoors or in the bathroom with a towel ready. Some overflow is expected. |
| Your dog yelps, flinches or pulls away | Stop. Pain means the ear needs a vet, not more cleaning. |
| The cotton is still dirty after three or four rounds | Stop and book a vet visit. Something is producing the debris. |
| The ear looks red or smells afterwards | Don’t clean again. See your vet. |
| You already used a homemade mix, alcohol, peroxide or oil | Stop using it, don’t add more products or flush the ear again, and watch for pain, redness, discharge or head tilt. Call your vet if any appear. |
| You used tea tree or another essential oil | Call your vet or a local animal poison hotline right away. |
| Head shaking continues or comes with pain, scratching or head tilt | Normal shaking right after cleaning is expected; anything beyond that is a vet visit. |
How Often to Clean Dog Ears, and How to Tell
There is no single schedule, and the sources don’t fully agree:
- PetMD: clean when you notice a build-up of wax or debris, not by the calendar.
- VCA: some dogs with healthy, clean ears may never need cleaning. Over-cleaning can irritate the canal.
- AKC: most dogs benefit from ear cleaning about once a month, and some need it more often.
Because they differ, treat your vet as the tiebreaker, since they know your dog’s ears. What all agree on is checking: look at the ears about once a month, even if you don’t clean them. Bath time, brushing or a nail trim are easy moments to do it.
PetMD lists dogs that may need closer attention: swimmers or frequently bathed dogs, dogs with long, floppy or hairy ears, heavy wax producers, dogs that play in dirt, and dogs with allergies or a history of ear infections.
If you find yourself cleaning weekly and the ears still look dirty, don’t clean more. Ask your vet what is producing the debris.
Puppies, Seniors, and Dogs With Floppy or Hairy Ears
Puppies need shorter sessions and more treats. The goal isn’t a perfect ear but a puppy who will let you near its ears next month. Stop after one ear and finish the next day if needed. If a puppy yelps or panics, stop and ask your vet.
Senior dogs do best when well supported and comfortable, since long holds are harder on stiff joints. Dogs with allergies or long-term ear disease need veterinary guidance before you set any home routine, because their ears may be sore in ways you can’t see.
Floppy and hairy ears hold warmth, moisture and debris. That doesn’t mean constant cleaning. It means the monthly check and drying after baths and swims matter more. Whether to remove hair from inside the canal is a decision for your vet or groomer, not a DIY step.
When Cleaning Becomes a Vet Visit
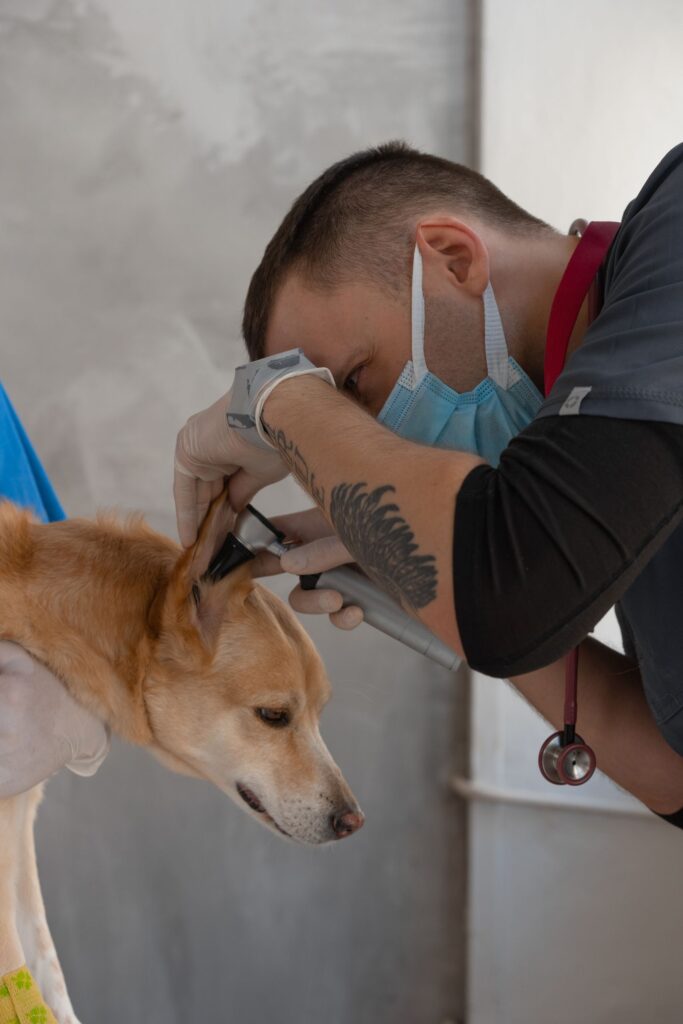
| Sign | What it can mean |
|---|---|
| Pain, flinching or crying when the ear is touched | Inflammation, infection or injury. Cleaning may make it worse. |
| Redness, swelling or heat | Infection or allergy rather than dirt. |
| Yellow, green, black, bloody or pus-like discharge | Infection or a foreign body that needs diagnosis. |
| A strong, foul or yeasty smell | A common sign of infection; it won’t wash away. |
| Head tilt, balance problems or sudden hearing change | Possible middle or inner ear disease or a damaged eardrum. Urgent. |
| Cotton that never comes clean, or debris that returns within days | Something is producing debris faster than cleaning removes it. |
| A visible foreign body such as a grass seed | Removing it at home risks pushing it deeper or injuring the canal. |
| A recent ear surgery or known eardrum problem | Fluid in a damaged ear can cause serious harm. Only your vet decides. |
After Swimming or Bathing: Drying Matters
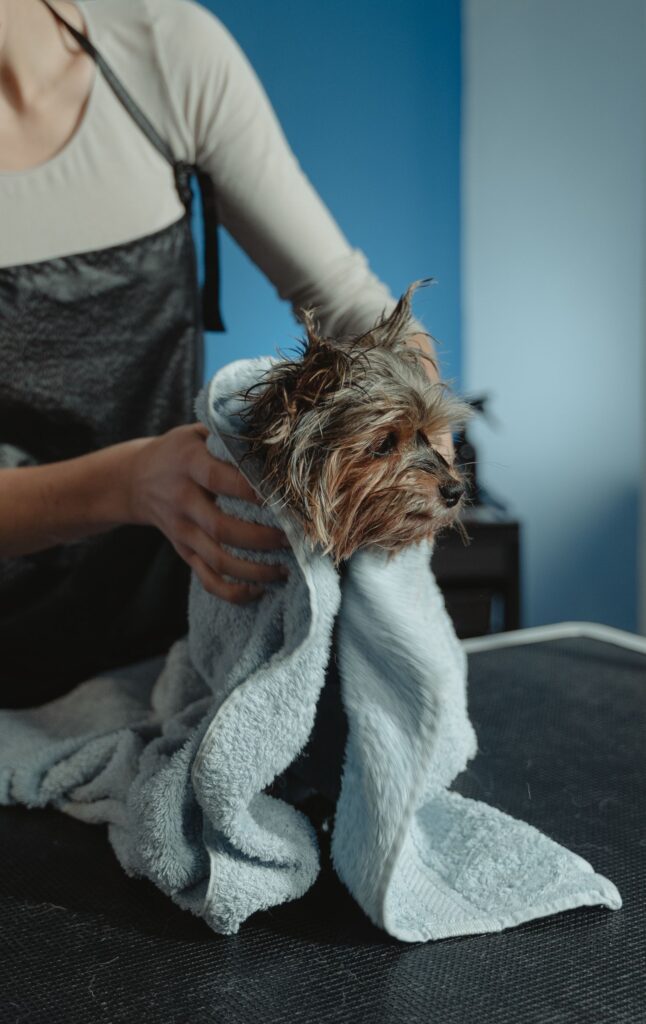
AKC’s advice is simple: dry your dog’s ears thoroughly after they get wet. Wipe the flap and outer opening with a dry cotton ball or towel and let the dog shake freely. Don’t flush with a homemade mix “to dry things out” (alcohol is exactly what VCA warns can irritate), and don’t push anything into the canal.
For dogs that swim often, ask your vet whether a drying ear cleaner suits them. That conversation is a better answer than another recipe search.
The same after-bath check fits naturally into our DIY natural dog shampoo recipes for sensitive skin and homemade dog conditioner recipes guides, where the ears are already in your hands.
Pros and Cons of a Homemade Dog Ear Cleaner
- Cheap and immediately available, using ingredients already in most kitchens.
- Simple to mix, with no trip to the vet or pet shop required.
- Feels "natural" and free of chemicals, which appeals to owners wary of commercial products.
- For the visible outer ear, use a soft cloth lightly dampened with plain water if appropriate; do not recommend an unspecified homemade mixture.
- Strength, acidity and cleanliness cannot be measured or controlled at home, so every batch differs.
- Vinegar stings inflamed or ulcerated skin, and alcohol and peroxide actively irritate the canal.
- Essential-oil additions, including tea tree, bring a separate toxicity risk into a delicate area.
The balance is not close. The homemade route saves a small amount of money and spends it on uncertainty, irritation risk, and delayed diagnosis. A vet-approved cleaner costs little, works the same way every time, and keeps the vet — the one person who can tell a dirty ear from a diseased one — in the loop.
Frequently Asked Questions
Conclusion
A homemade ear cleaner for dogs promises a simple, natural fix, but it puts an unmeasured liquid into one of the most delicate places on a dog. The safer routine is unglamorous: check the ear, use a vet-approved cleaner, fill, massage, shake, wipe, and stop the moment anything looks or smells wrong.
If you want a dog ear cleaner homemade for the outer flap only, get your vet’s agreement first. For the wider routine that keeps ears, coat and paws in check together, start with our complete guide to grooming your dog at home.
References
- VCA: https://vcahospitals.com/know-your-pet/ear-cleaning-in-dogs
- PetMD: https://www.petmd.com/dog/general-health/how-to-keep-dog-ears-clean
- AKC: https://www.akc.org/expert-advice/health/how-to-groom-a-dog/
- Twin Trees: https://twintreesvet.com/blogs/vet-talk/how-to-clean-my-pets-ears-twin-trees-vet-talk-podcast
- Virbac: https://us.virbac.com/dog/ear-health/cleaning-your-dogs-ears